

From start to finish
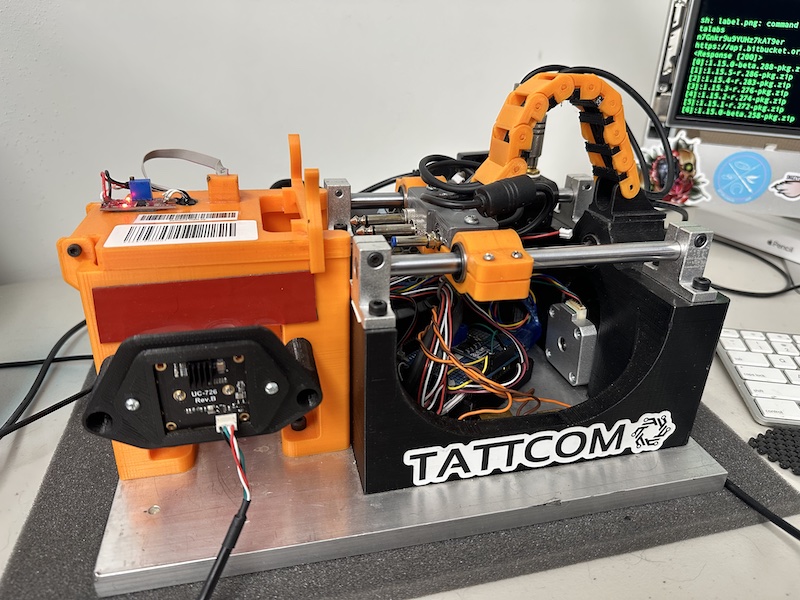
At TATTCOM, we take pride in taking our products through the complete journey from start to finish. This includes production assembly and QC testing of the ESCx Tattoo Power Supply main unit. In this video you can follow step by step as an ESC/x goes from a pile of individual parts, to a fully functional tattoo power supply.
The Steps:
- Install 1/4-20 Mount
- Install Serial Tag
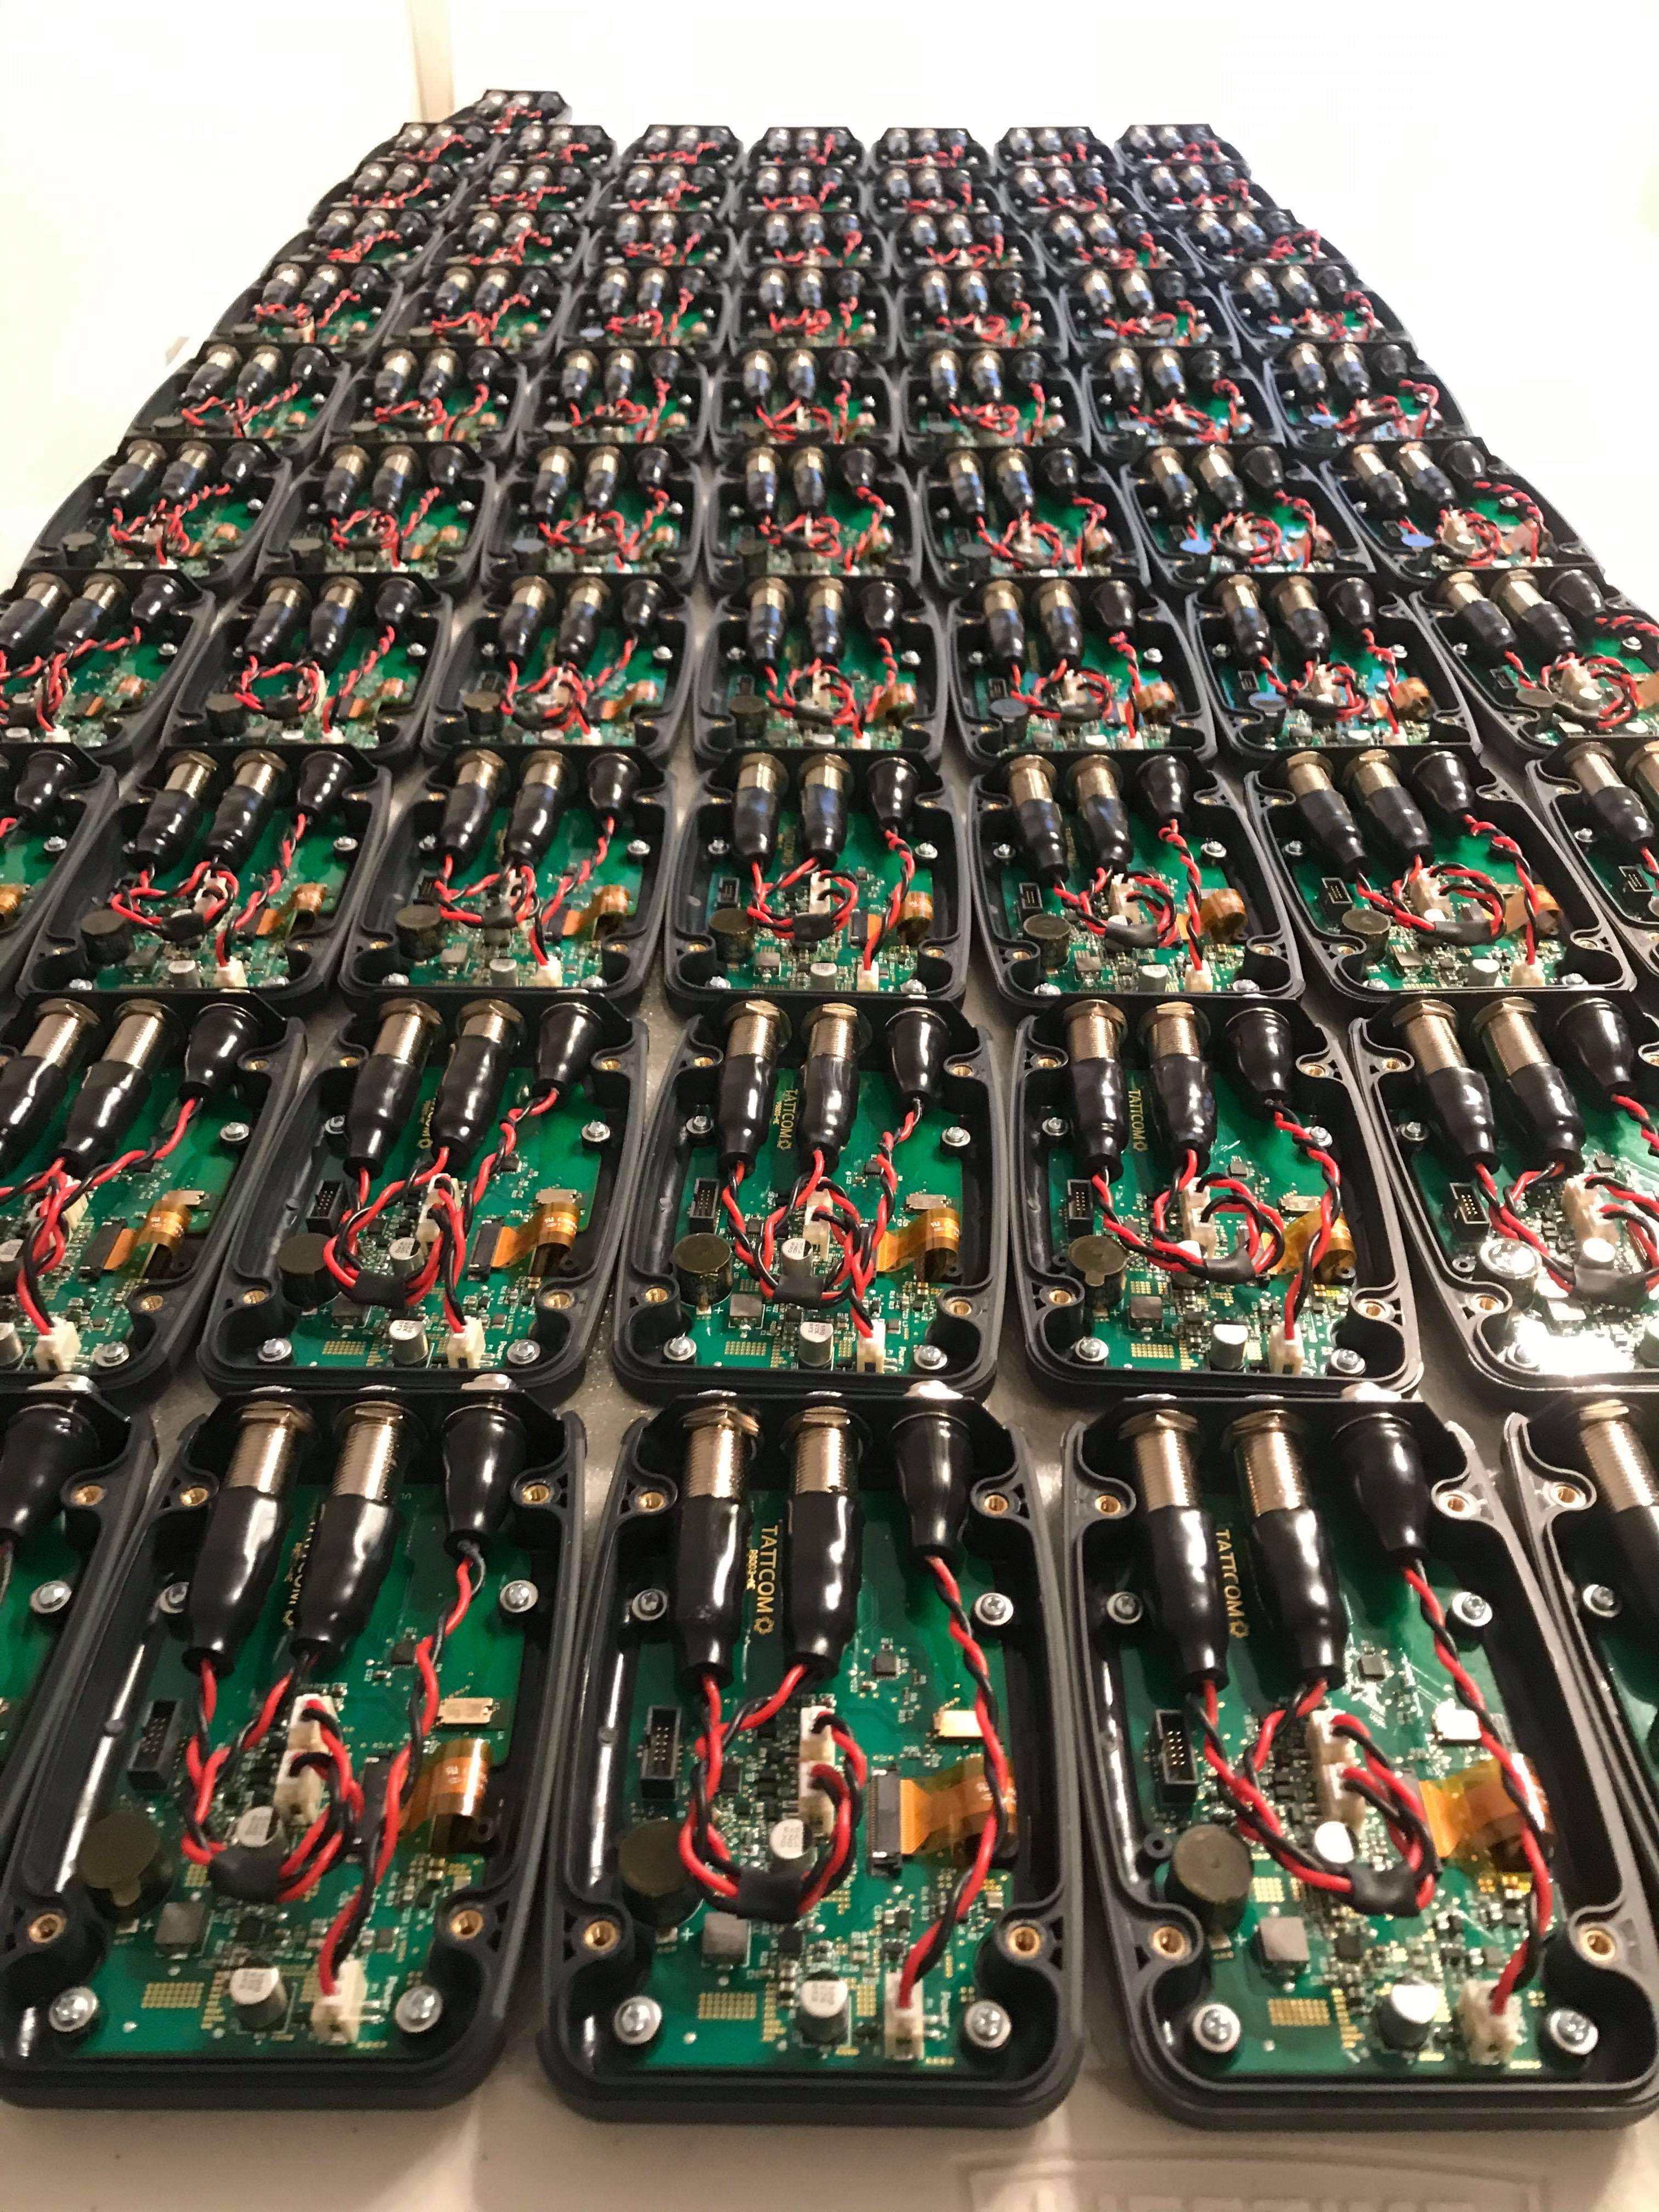
- Install PCB
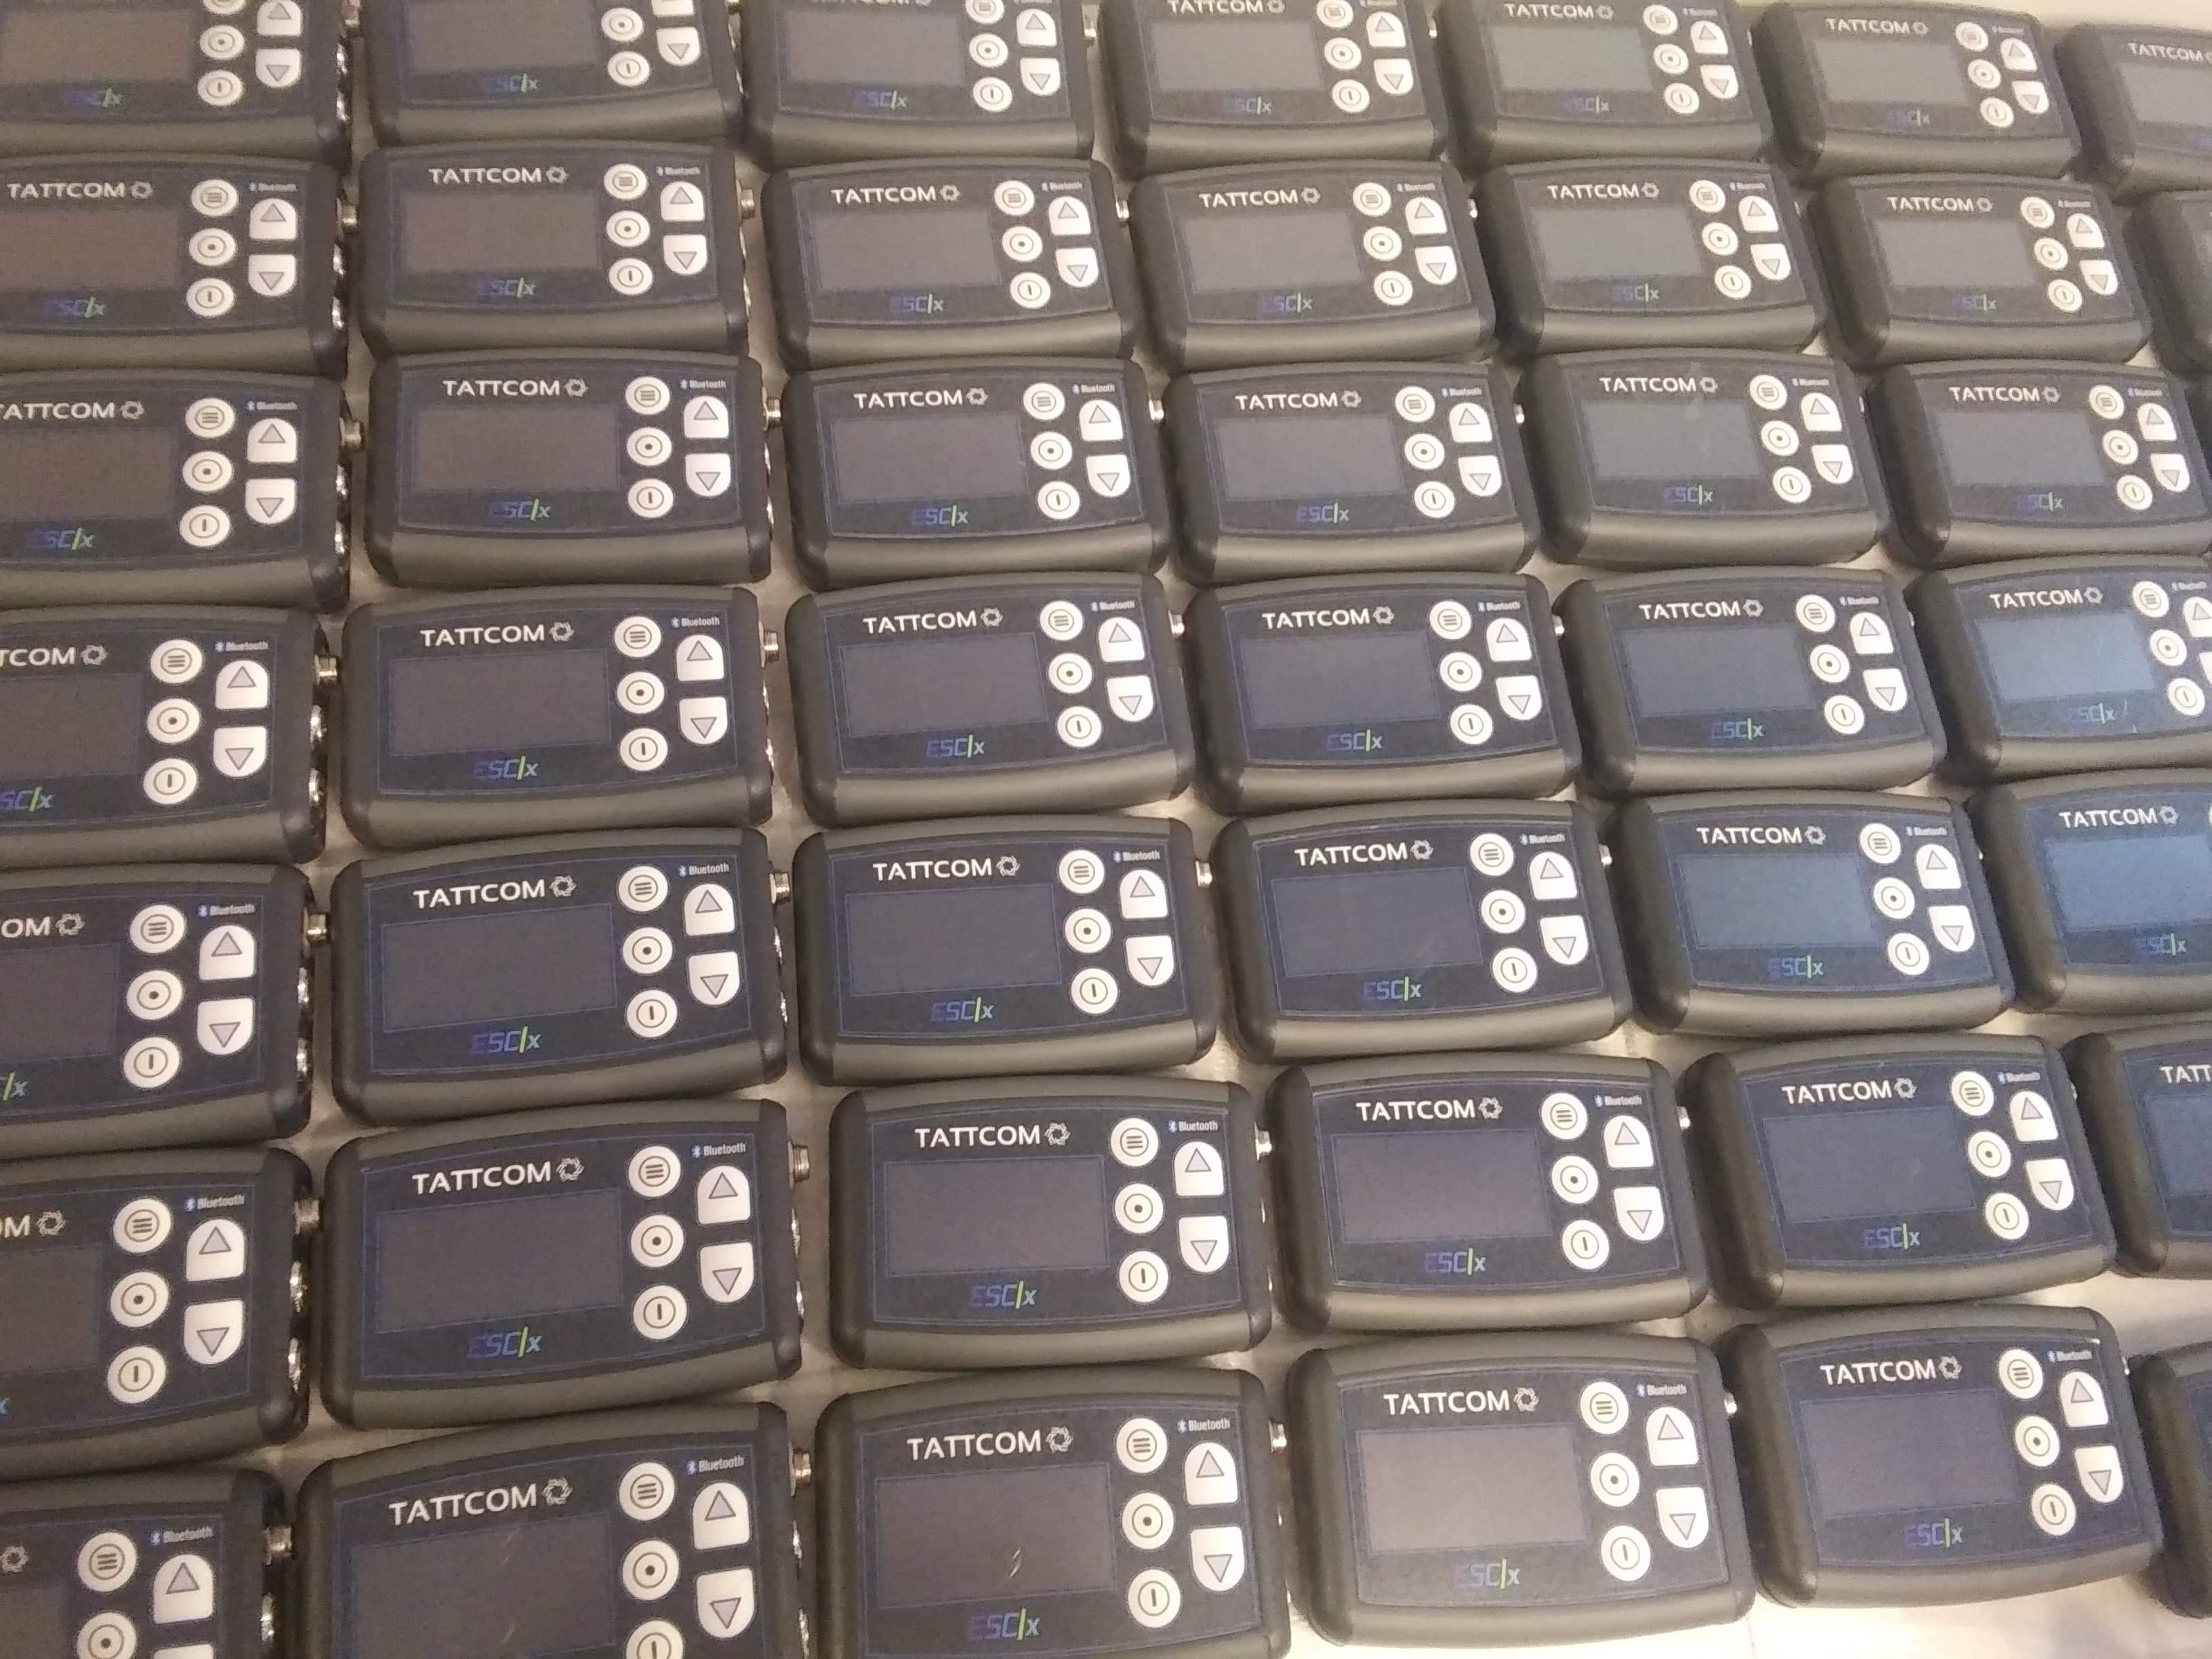
- Install OLED Screen
- Install 1/4" Connectors
- Install Power Connector
- Make Connections
- Reclaim Heatshrink
- Install Graphic Overlay
- Automated Program and Test
- Final Assembly


Comments